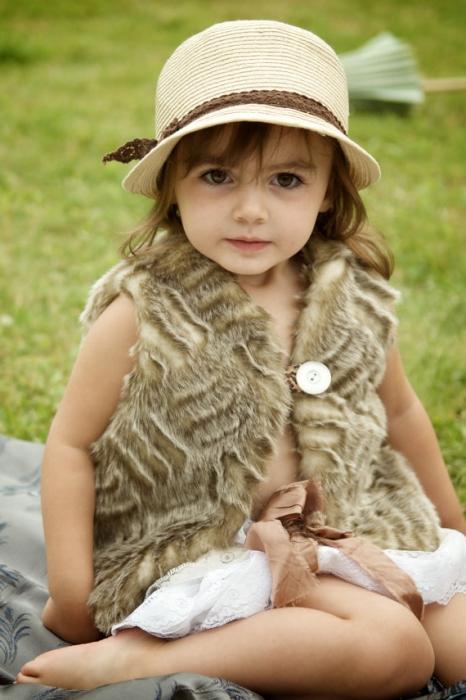
The warmest and cozy baby waistcoat
One of the most convenient elements of the wardrobe isright is considered to be a waistcoat, and it's not so important what kind of sex and age you are. A similar thing is equally good for kids, adolescents, middle-aged people and even the elderly. What else can create a feeling of coziness and not let the cool wind make you go home? Of course, a waistcoat. It is especially important for children that the back is warm, considering how much they are mobile. Vedt for them enough will be a small draft to catch a cold.

So that the crumb did not get sick, and that he wascozy and warm, it must be provided with warm things. A baby waistcoat that will be tied up with mother's caring hands will not only warm up, but will also become a unique, unique thing in the wardrobe of the baby. In addition, such a product will never be superfluous in the closet. Well, in the course of its production, the difficulties will certainly not arise. There are enough patterns and patterns for knitting, which can easily be found in magazines for needlework. Virtually all of them contain step-by-step instructions and photos for each individual loop. Baby things are made quite simply. So let's look at the brief instruction of this process.
How to create such a product, like, as a children's vest, knitting needles? For this we need:
- the selected model;
- description of work with the scheme;
- wool;
- Needles with the correct number.
Performing all the work is in four steps. The first step is to determine the size. Then you need to calculate the required number of loops. Sometimes in ready-made schemes there are several sizes to choose from. There is also often described the number of loops. And sometimes you have to do the calculations yourself, as the diagram shows only one children's vest that does not fit your baby in size.

After the model is selected and the issue withsize, and all materials are on hand, you can start knitting. First, you need to type loops in size and pattern and two more edge loops. Then the children's waistcoat is matched according to the scheme, as a rule, with a single or double elastic band. Sometimes the pattern is "herringbone" or "smooth cloth". The waistcoat is made up of two parts. One is the back, and the second is the front part. When the work comes to the next step, you need to start hiding the loops. This creates armholes. The more the hinges are removed, the deeper will be the armhole. When all the details are already connected, it remains to assemble them together and sew them with a tailor's needle. Then iron the product and it is ready to be worn.
A crocheted baby waistcoat gives moreopportunities in the choice of patterns, especially openwork. This, of course, is suitable for small women of fashion. However, you can pick up and quite neutral patterns for boys - for example, in the form of bumps.